

The reason electrical crimpers provide an option to crimp insulated and non-insulated connectors is not necessarily because the actual part being crimped is different, it is because there is a risk while using the non-insulated method that you may break the seal on an insulated connector.
Without the concern of breaking the insulator jacket, it is always advisable to use the non-insulated section of the jaws:

The main difference between the insulated and non insulated jaws is that the latter has a tooth that facilitates a much tighter crimp by not only forcing the front from the sides, but also the back from the middle.
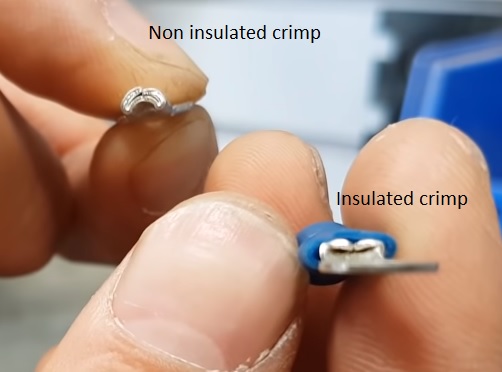
Insulated crimp:
Non insulated crimp on insulated connector:
There are many different grades of electrical connectors, but generally, the two main types are:
Nylon:
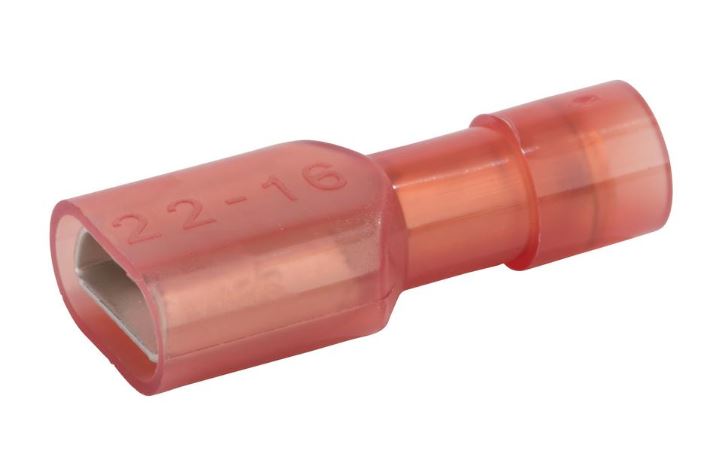
PVC:
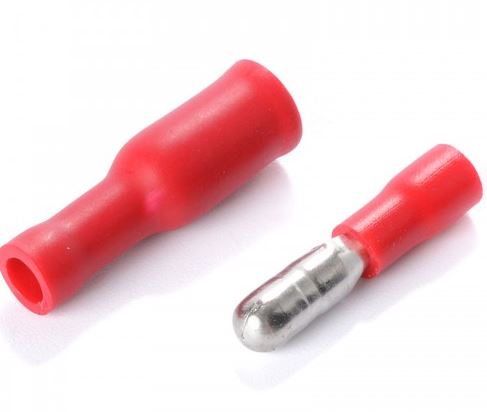
The general rule of thumb is, if the connector is see through, it is likely nylon and if its solid its likely PVC or Vinyl. Nylon is much more resistant to cracking and general wear; they are also marginally more expensive. The goal for a high quality crimp is to use a Nylon connector with the non-insulated crimp setting with your pliers.
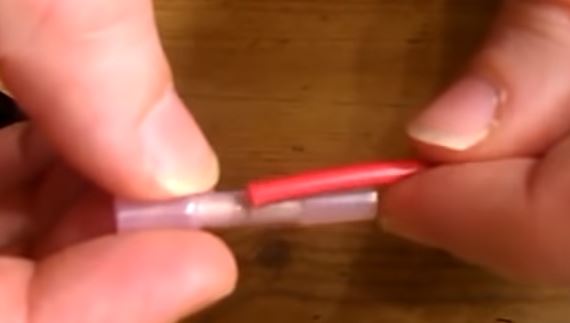
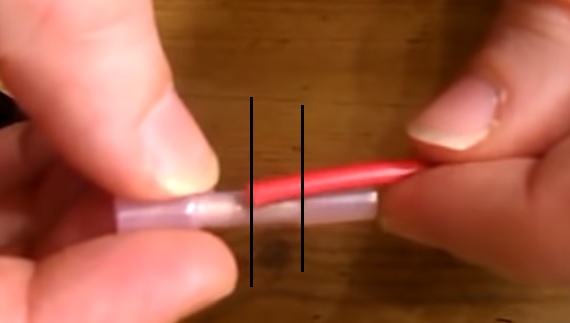
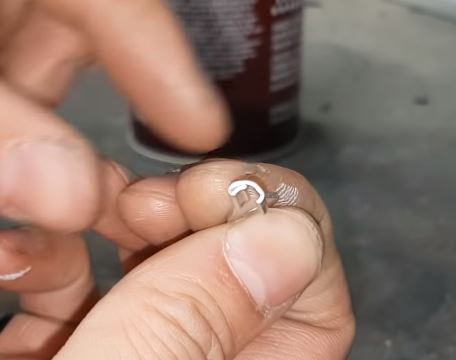
Another common mistake people make is over stripping the wire. To know how much to strip, take your wire and put it over the connector, the amount to be stripped should be the distance from the middle of the butt connector to the end of the inner metal tube, no more!
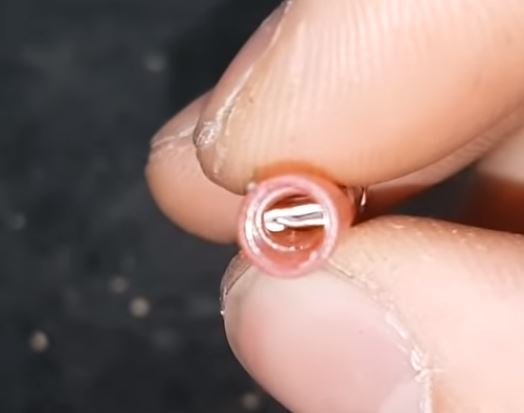
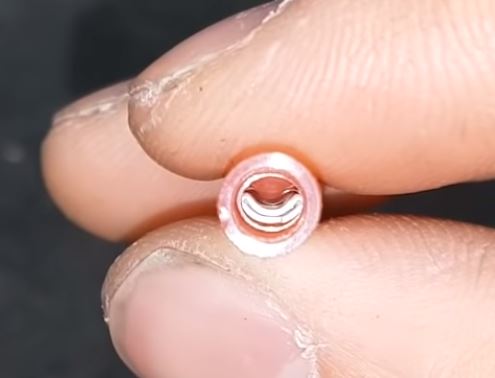
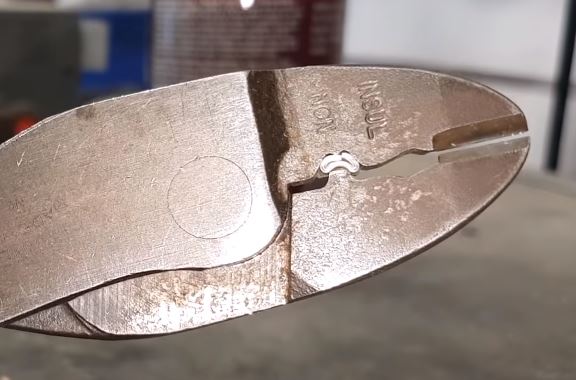
Lastly, before crimping there is a correct orientation when it comes to crimping. If you place the tooth in the wrong place, it will result in the connector opening up instead of closing when it deforms:
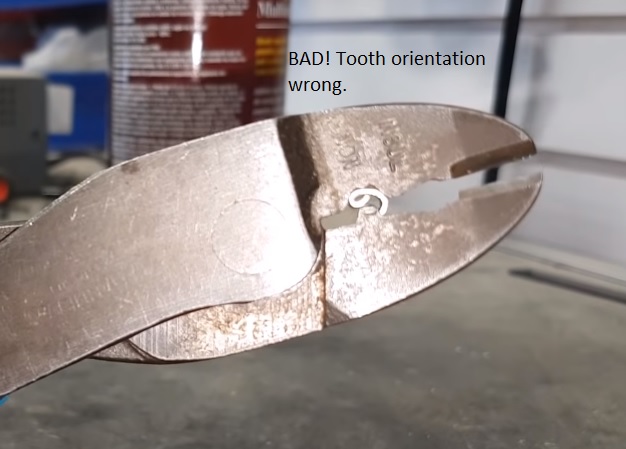
Result of incorrect crimping:
Correct crimping orientation:
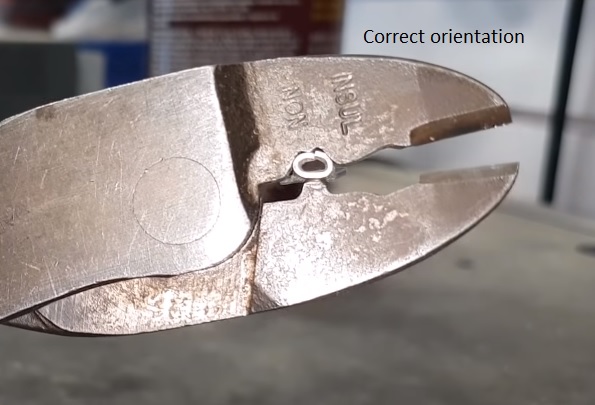
The goal is to have the tooth opposite to the seam, regardless if you are using an insulated or non insulated connector.
Leave a Reply